Guest Blog Post by Geneva from A Pair & A Spare
Hey guys! Geneva from the website A Pair & A Spare here. I’m super excited to have teamed up with my favourite Spell ladies to create some DIY goodness for you. Namely, this pretty-as-it-is-sustainable fabric cutlery holder!
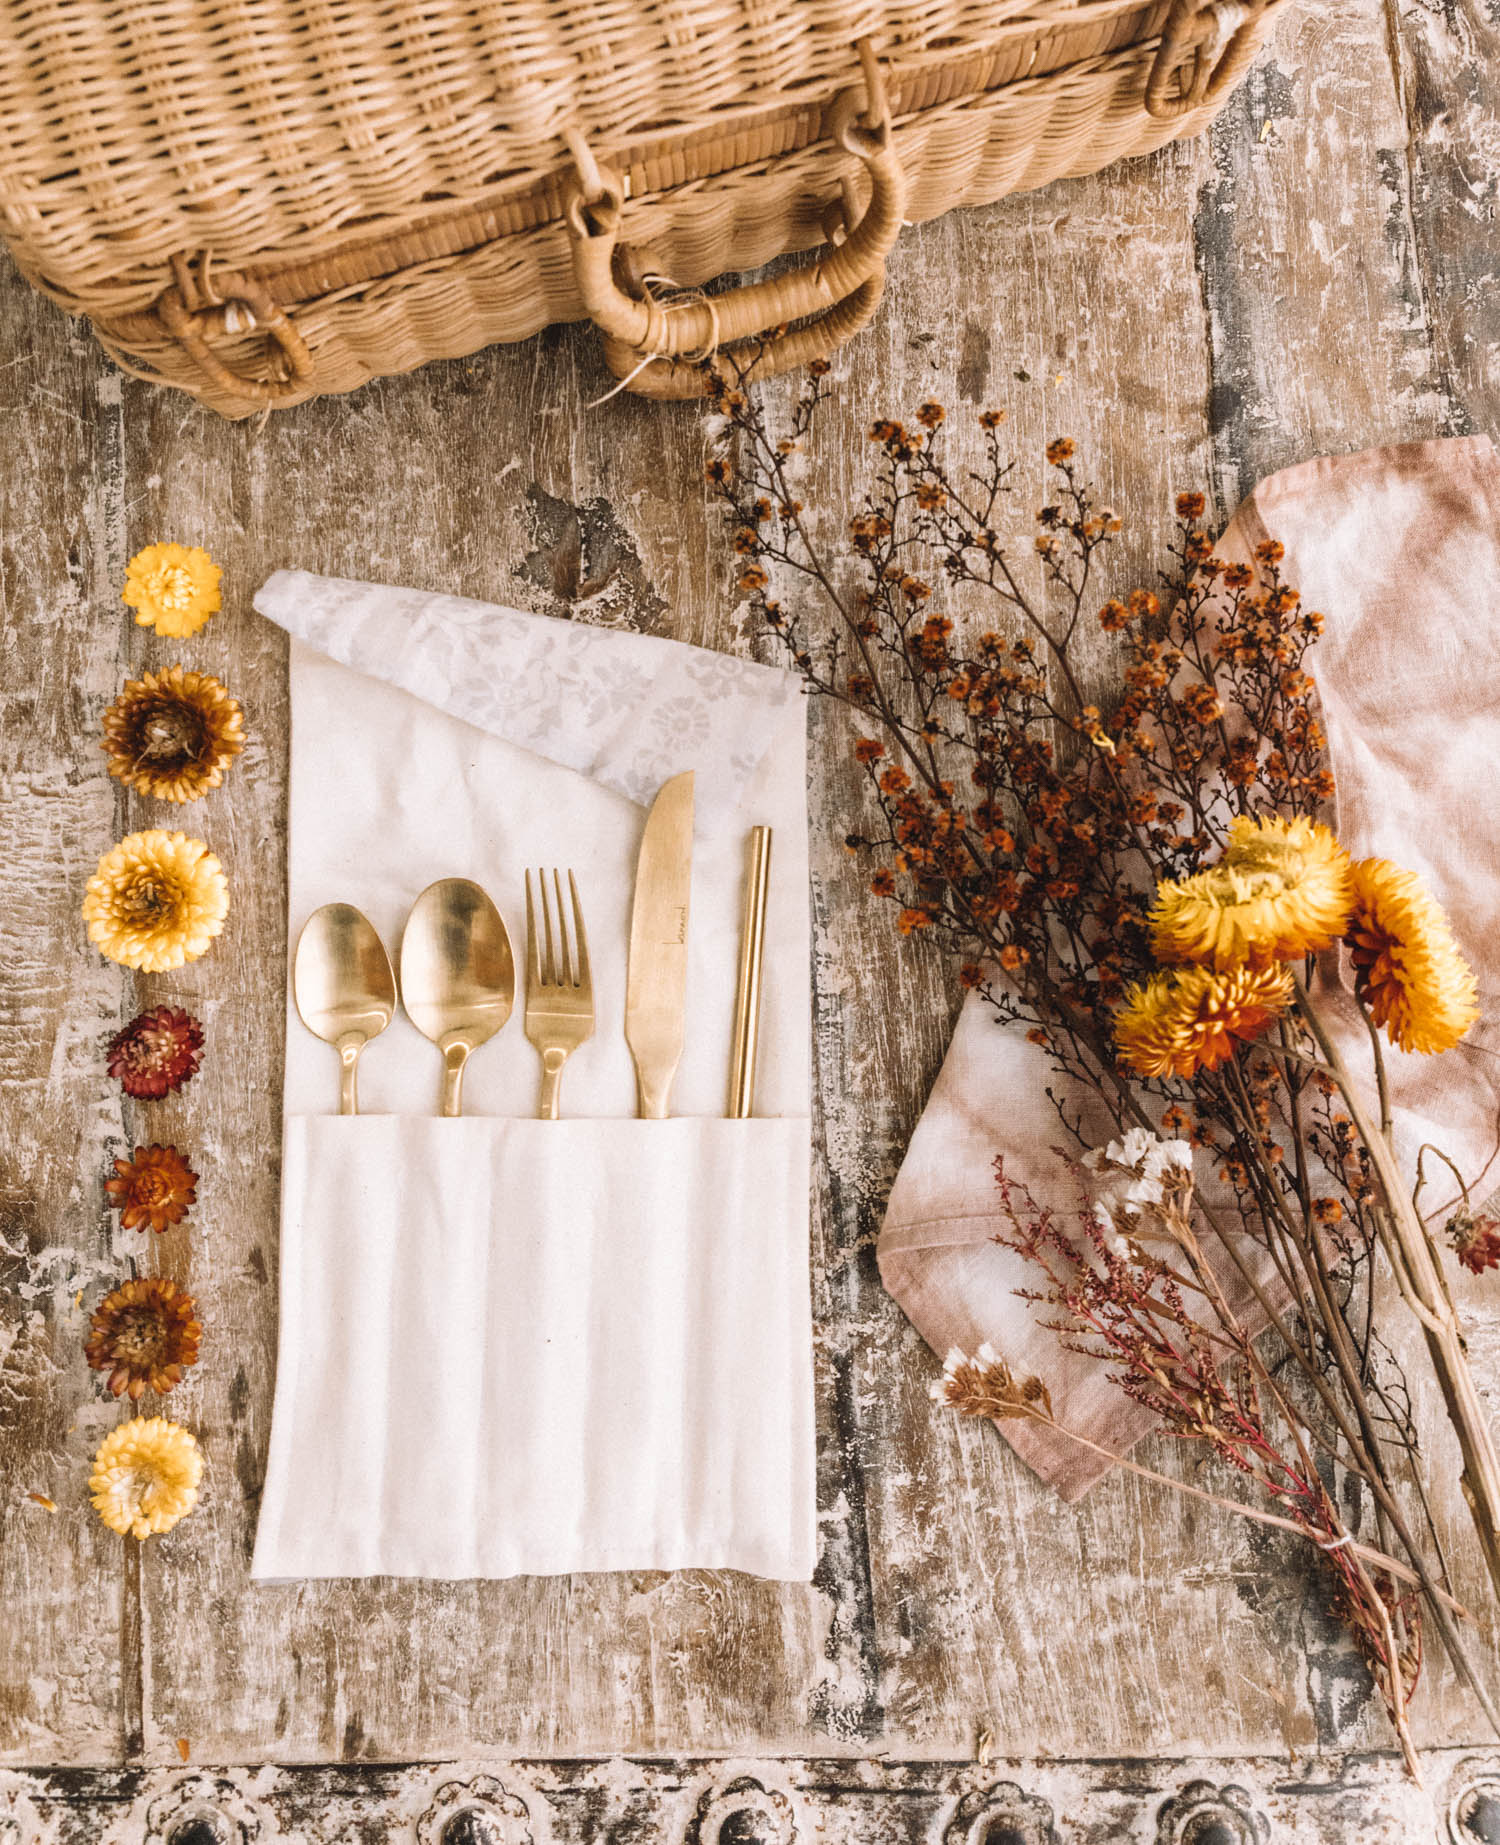
I’m such a huge fan of getting together with friends outdoors for picnics, barbecues and beach lunches. But sadly, if you’re not organised, a by-product of these get-togethers can be rubbish – plates, utensils and cups. Over the last year, I’ve grown more mindful of this, always looking to choose the reusable option rather than something that gets thrown out straight away. So I’ve started taking my own cutlery to picnics, instead of using plastic, but too often have found them clinking around in the bottom of my bag at the end of the day. Enter, the humble fabric cutlery holder. Perfect for picnics, barbecues and your daily packed lunches. Read on to see how!
Materials:
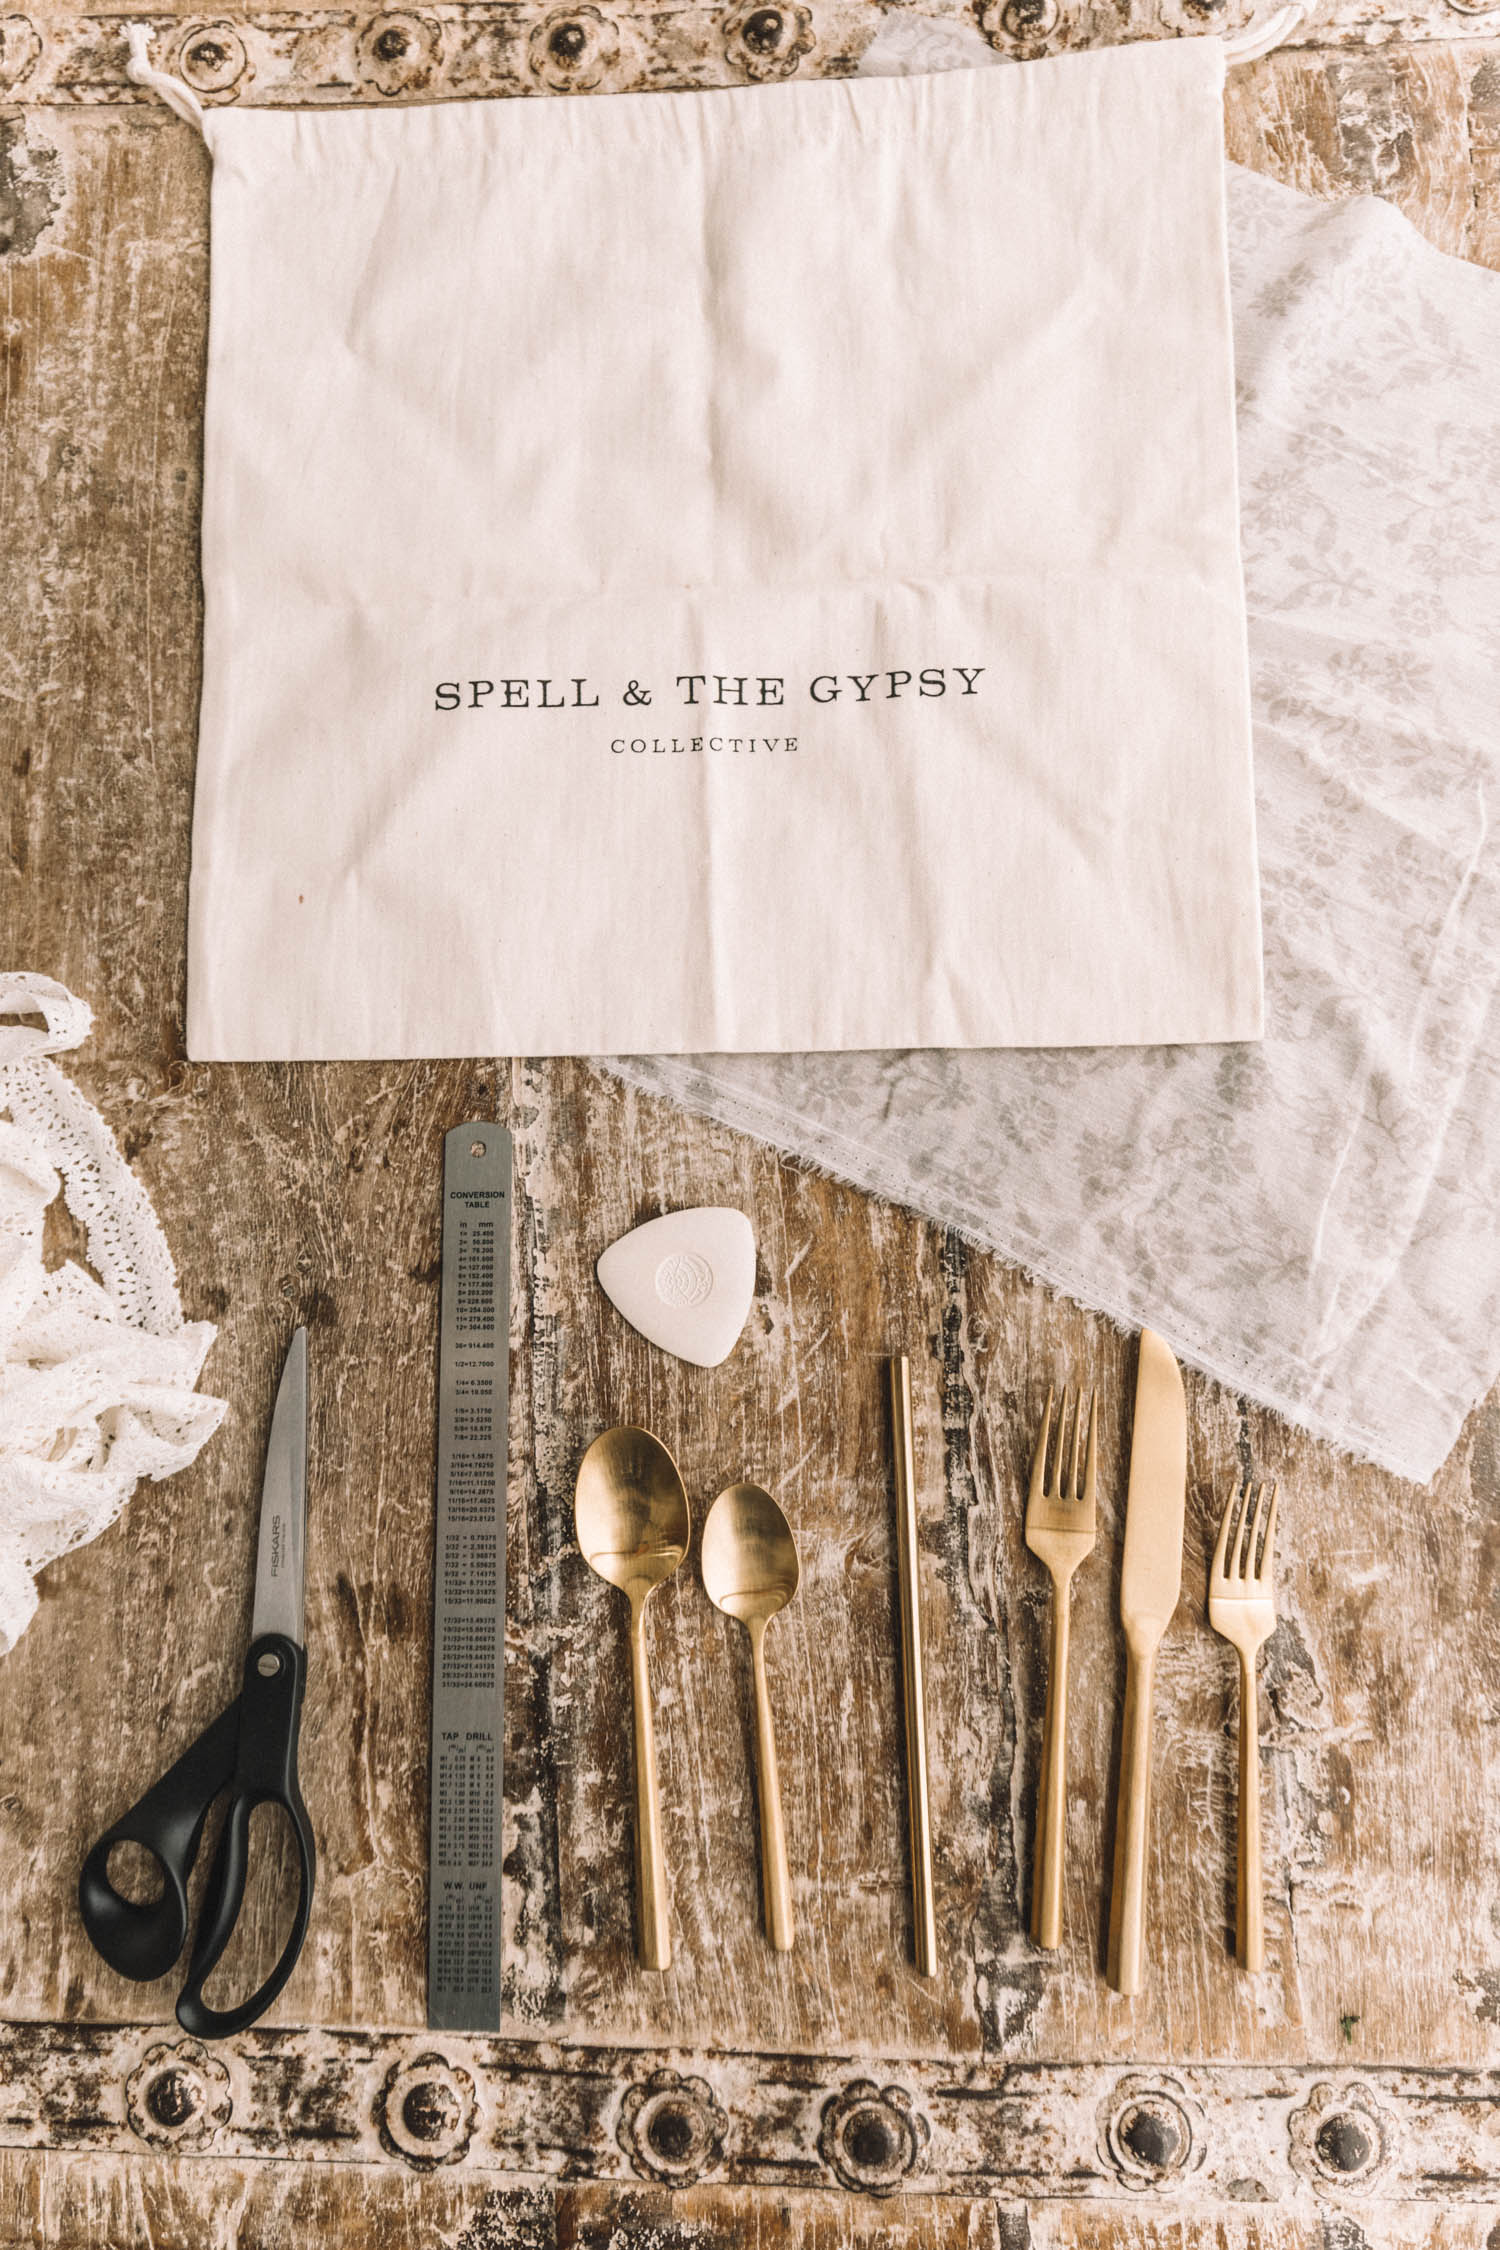
Half a metre of thick fabric like canvas or hessian (we upcycled the eco Spell bags that orders are sent out in)
Around half a metre of patterned fabric
Scissors
A piece of ribbon or lace
An iron
Sewing Pins
Needle and Thread
Ruler
Chalk
How to:
1. Cut one piece of canvas fabric and another of the patterned fabric to the following measurement: 41cm x 21cm. In addition, cut another piece of canvas roughly half the size of the first piece.
2. Once you have your fabric cut, pin together the two large pieces of patterned and canvas fabric, with the wrong sides of the fabric facing in.
3. Time to start sewing! Sew around three sides of your two pinned pieces of fabric, leaving a 2cm seam allowance between the edge and the stitch. Leave one end of the rectangle open.
4. Once you have finished sewing, turn the rectangle inside out and iron it well. This is the base of your cutlery holder.
5. Now it’s time to add the pocket. First, take your extra piece of canvas and trim it to size so that your cutlery sits well when inserted, making sure to leave a seam allowance around the edges.
6. Then, iron over the edges.
7. Then, sew the pocket to your fabric base, sewing down the sides and bottom of the fabric. When you get to the open edge of the fabric base at the bottom, fold those edges in and sew them together with the pocket.
8. Use a ruler and chalk to mark evenly spaced lines on the pocket. Sew those lines down. We did 4 lines to create 5 individual pockets.
9. Finally, sew on your piece of ribbon or lace. Voila!
As always, we’d love to see if you recreate this super cute, conscious DIY ~ #spellDIY to share your creations!